Subscribe
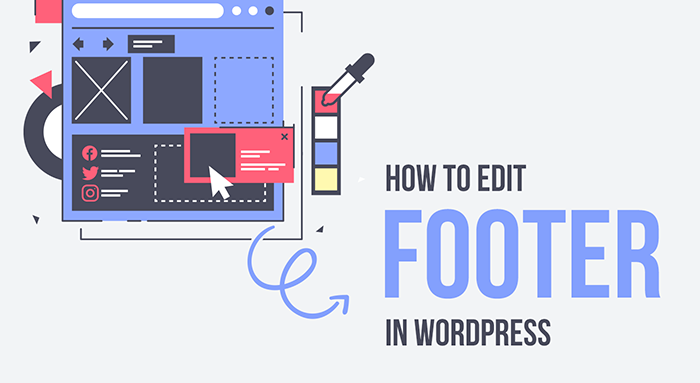
How to Edit Footer in WordPress?
Have you struggled editing the footer in WordPress ? Read further to know the tips and tricks to do it easily.
The footer is the theme that is displayed on the lower part of your site. The footer is typically present in every single page. Footers are sometimes underrated. There are two important advantages of having a footer- one being website navigation and the next being SEO. Editing the footer can sometimes leave you tired. Yes, it’s tricky but not impossible.
Editing a footer in WordPress becomes tricky because of its unique themes. However most WordPress themes have common ways and methods and this makes our work a lot easier. The footer area of a site can be used to give a lot of information to the visitors. If you think people don’t scroll down, guess again! A survey showed that most of them scroll down to find out what’s in store in the site.
A pleasing website and appropriate content can attract traffic to a site.
How to edit a footer in WordPress
Congratulations on reaching here! Go through the rest of the content to see the step by step guide to find how to edit a footer in WordPress.
1. Editing the footer code
It so happens that at times we are not happy with the current footer and would wish to edit or customize it as per our needs and demands. The method of editing the footer code works well if you know the code. Editing the footer code is a delicate process. It is either way not recommended to edit to the footer.php directly. Instead follow these steps for easy editing. These are really easy to follow steps and you would certainly be able to edit the footer by following steps.
- Create a child theme.
- Apply changes to the code of the corresponding file in child theme
- If the theme breaks revert to the previous theme version in the backup.
- You can also comment on the code in the footer.php file.
- Make sure you do not undo any subsisting lines of code.
Changing the footer.php file
Login to WordPress Admin dashboard.
On the left hand menu 🡪 Appearance 🡪 Editor.
There is a list of themes displayed on the right side, reach there and use the keyword footer.php. Click on the file as it is displayed. This is exactly how the coding lines will appear to you.
Now, let your coding skills come into play.
Use theme customizer to change footer
This is a cakewalk. The process is just too easy!
The first step is to login to the WordPress dashboard
The next go to Appearance 🡪 and customize
This will ensure that you’re taken to the WordPress theme that is installed and it will be activated.
Now, search and find the section dedicated to the footer.
You can also make the following adjustments in the footer section like changing the text colour, adding a few rows and columns , changing the background of the footer or to make a choice on the elements that are to be displayed.
2. Editing the widgets
Most of the footers will have widgets. These widgets can be used to add text or to add images. You can also add links that state the privacy policy of your site. While adding text or an image is a direct task, adding links may not be so easy.
To add a text or image simply go to Appearance 🡪 widgets add a text or an image.
The next part is adding link to the widgets
Your footer area can contain links to various pages or categories. WordPress comes with an easy way to manage those links that are displayed in the footer area.
The following is the step you need to follow to add those links to the footer area.
Login to the WordPress dashboard
Appearance 🡪 Menu 🡪 create new menu link
WordPress will now prompt you asking for a new menu. Now, all you have to do is enter a name and click on the “Create Menu” button. This solves the problem of adding a link to the footer.
3. Styling your WordPress footer
Styling the WordPress footer can be easily done within the customizer. The step is to go to the dashboard and select appearance and from there move to customize. Now, it’s time to identify the settings item inside the menu. Go to the General Settings and further select “Additional CSS”.
Now, you will notice a separate window opening where you can actually copy paste the code that you have. The changes that you make are available in the preview. You can preview it and hit the publish button. Remember if you forget to hit the publish button any changes that you made may not be visible.
Now, let’s say you want to edit the “powered by WordPress ” text that appears in the footer. A one line code is needed for that. You will have to paste the code in the white space shown below.
You can follow all the above steps when it comes to editing a footer in the WordPress . You are also left with other options wherein you can choose to edit the footer manually by entering the coding. After editing the header or footer do not forget to hit the save button. You can also make changes in the footer layout. You just have to select the entire footer block and once you do this, you will see some editing options on the left hand side. This way you can adjust the width of the section, adjust the top and bottom spacing, adjust the height of the header, add new rows or add a new header.
WordPress comes with a few advanced features and this will enable you even to change the size, font and colour of the footer. You may have to go to style options and select your desired style to make changes to the footer text, font or color. You can also make changes to the text alignment using WordPress. Now you must have a good idea about how to edit footers in WordPress.
Hope this helped you!